The thought of restoring your classic Chevy can be quite exciting. However, your excitement cannot help you restore and rebuild the amazing vehicle you have. You need to have a proper plan of what you have to do in order to get your vehicle in the shape that you desire. The following tips will help you through the process.
The Right Way to Restore Your Classic Chevy
Have a Proper Written Plan
You need to have a proper and written plan of restoring your classic Chevy for many reasons. First, you need to look into the condition of the vehicle to find out how much work will be needed. Secondly, you have to know what budget you can allocate for the restoration and what you can afford within the budget you have. Thirdly, you have to decide whether you just want to restore it in its original condition or modify it to look completely different from that. Write the costs of the parts down and give yourself a goal and a timeline.
Do Some Inspection
You can’t start your restoration process unless you do a detailed inspection of the truck. For instance, if you have a 1950s Chevy Truck, the first thing you have to analyze is the amount of damage corrosion has done to your vehicle. Secondly, you will measure the damage done to the interior of the vehicle. Create a list of the parts that can be repaired and another list of the parts that will have to be changed and replaced. It would also be a good idea to see online if all the parts you need are easily available.
Start the Disassembly and Cleaning
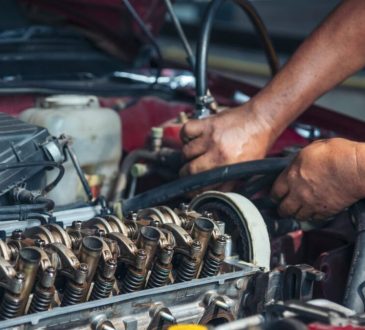
Once you have created a plan and done the inspection, you need to start the disassembly process. Make sure you have the book from the manufacturer that tells you all the tools you need to get every part separated without damaging. Have all the needed tools nearby and in one place. The first phase of restoration is the cleaning of the part. Every part that looks rusted needs to be de-rusted properly. Some parts might have so much rust that you won’t have any other option than replacing them. Make sure you replace the floor if it is overly rusted.
Put the Parts Back Together
Once you have cleaned all the parts and installed the new ones, it is time to put them back together. Be very sure about the fitting of every part by double-checking. Make sure to clean every part before installing it. When it comes to the paint job, it is best to keep the original paint if you have minor damages. Some damages can be repaired by your nearest mechanics without removing the paint. You can also install a vinyl to hide minor issues.
Once you are done with these steps, it is time for you to take your truck for a test drive. The test drive will ensure that all the parts are in place perfectly and there is no issue with driving, handling, and steering. Let a nearby dealership worker to help you with any driving issues by letting them drive it once.

